Chances are if you ever peeled, sliced or shredded a potato you found it didn’t take long for the nice white color of the potato to turn a lovely shade of brown. This happens because the oxygen in the air reacts with the enzymes in the cells of the potato which quickly changes the white potato to an unappealing brown color. The same is true with apples. Oxygen also reacts with that fresh cut salad turning the edges of the leaf brown.
Luckily, there is an easy solution to stop the oxidation. The simplest method is placing those peeled potatoes and sliced apples in water. This works well when there is only a limited time between preparation and cooking and when the pieces of potato and apple are large.
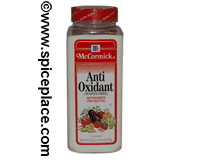
If you shred the potatoes and apples, the oxidation occurs very quickly. In fact, when I shred potatoes using my KitchenAid stand mixer’s shredding attachment, the potato starts to brown almost at the moment it’s coming out of the attachment. In this case as well as when sliced apples are to be displayed, I turn to McCormick Anti-Oxidant. Through the magic of chemistry, this product, which is made primarily with food grade citric acid, effectively stops the browning of sliced fruits and vegetables.
- For potatoes, simply mix up 1 1/2 tsp of McCormick Anti Oxidant with each quart of water (or 2 tbsp to a gallon for larger needs) and let the potatoes sit in the solution for three minutes and then drain.
- For shredded potatoes, put the anti-oxidant mixture in a bowl placed directly under the shredder to cath the shredded potatoes as they fall out.
- For green vegetables such as cucumbers and lettuce, use 1/2 tsp anti-oxidant to 1 gallon of water. One gallon of solution will treat 40 pounds of vegetables and fruit.
|
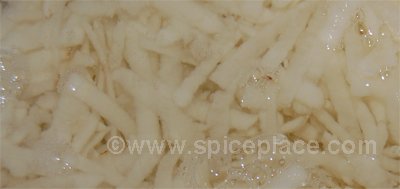
| Shredded potatoes in anti-oxidant solution |
One of the best reasons for using anti-oxidant with foods instead of other solutions such as lemon juice is the pure citric acid adds no tastes to the food. When I used lemon juice to prevent the browning of my sliced avocado it always added the taste of lemon to my salads. You can see from the picture above how white the shredded potatoes are in the anti-oxidant solution, and they stay that way while cooking.
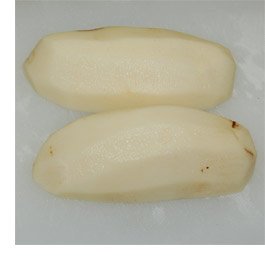
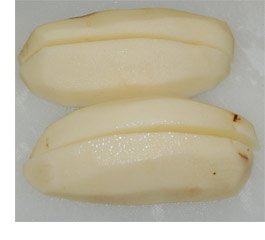
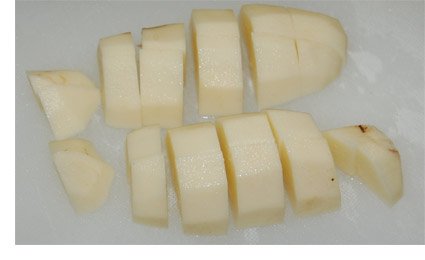
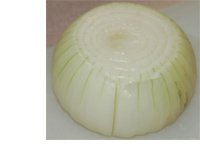
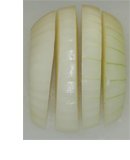
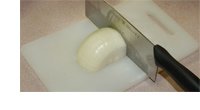
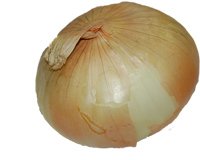 The art of cooking well comes from experience. Sometimes we forget that what seems to us today to be simple to do took a little while to learn how to do right. It occured to us that one of those items is diced onions. We’re all so used to seeing them on salad bars, hamburgers, etc — diced onions surround us everywhere. Yet dicing an onion isn’t one of those skills that is readily apparent.
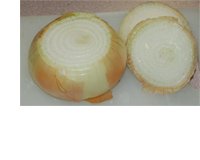 First, choose an onion of suitable size for your meal. A two inch diameter onion will make about one cup of diced onion. The one in the pictures here is a large 3 1/2″ sweet onion. We’re only going to dice half of it, saving the other half in the refrigerator for tomorrow.